How To: Build a Terrarium
Cary, NC — I like to think of terrariums as magical miniature forests contained inside a glass bowl or vase. They add a colorful, unique, and beautifully natural element to your indoor decoration. The best part? They’re fun and simple to make.
Garden Supply Co. Terrariums
If you’re building a terrarium for the first time, Garden Supply Company on Old Apex Road in Cary is a great place to start. For only $10, a staff member will help you build one from start to finish. The $10 includes base materials like pebbles, charcoal, moss, and soil. You’ll need to provide the container and pay for any plants or decorations.
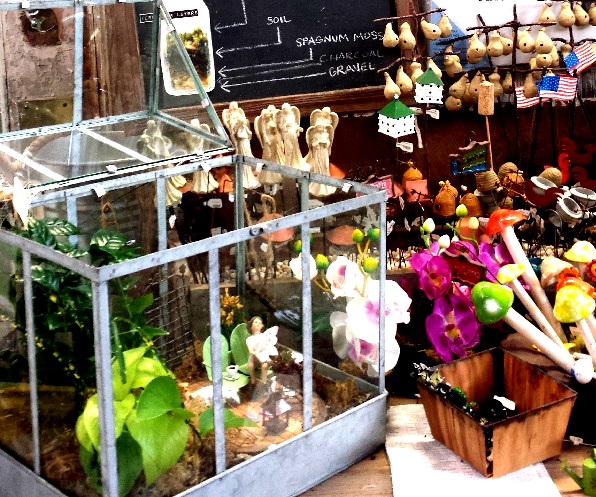
The Garden Supply terrarium station, pictured above, has everything you need to get started. With some help, I built a small, basic terrarium right in the store.
How To: Build a Terrarium
Whether you visit Garden Supply or choose to make one on your own, the step-by-step instructions below should help your process. Happy planting!
Step One: Pick a Terrarium
There aren’t many rules here. Terrariums come in all shapes and sizes, so your choice will depend on your personal preference and how much you’re willing to spend. I purchased a small but wide glass vase at Garden Supply for about $25. You can also bring a container from home or elsewhere to the store.
People build terrariums in anything, from tiny wine glasses to large, flat $100 vases. Customers at Garden Supply commonly use apothecary jars, candy dishes, fish bowls, or vases. If you want to really get creative with a variety of plants and decorations, I’d recommend choosing a terrarium with a wide base, like I did.
Step Two: Add stone, gravel, or sand.
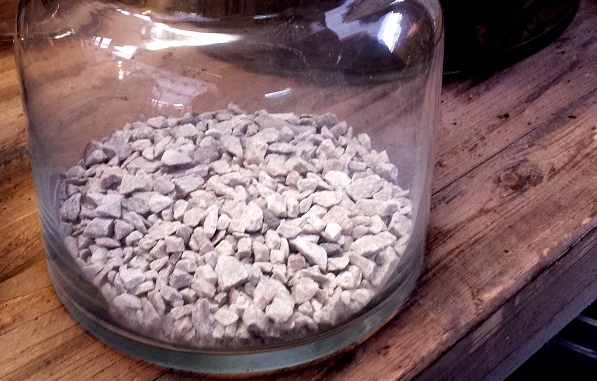
I used Garden Supply’s basic gray gravel in my terrarium, but they sell a variety of colors, too.
Step Three: Add charcoal (optional).
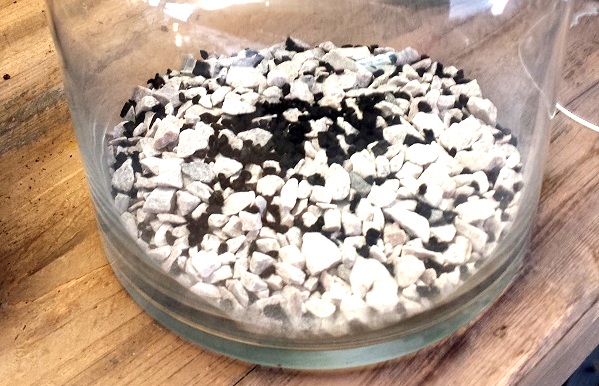
You only need to add charcoal (about a tablespoon) if your terrarium has a lid. This prevents bacteria growth. I selected a lidded terrarium for aesthetic purposes, but they’re also great choices for people with nosy pets. You can find charcoal at most pet or garden supply stores.
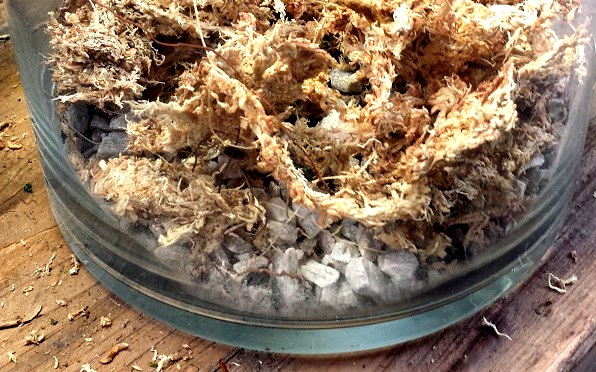
Step Four: Add sphagnum moss.
Step Five: Add your potting mix.
If you want your plants higher up in your terrarium, add more potting soil. If your container has a lid or a narrower top, like mine, keep in mind that you’ll need plenty of room to place your plants.
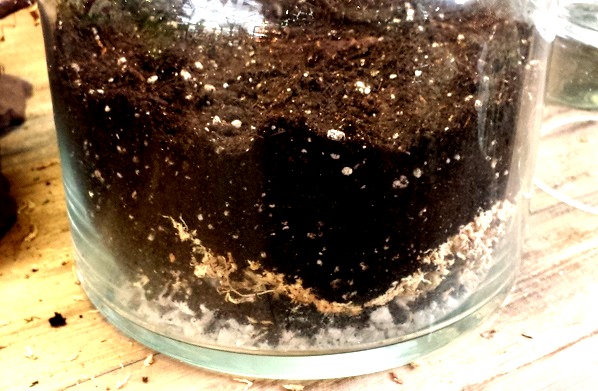
A thick layer of soil is important, but how thick you layer it depends on your plans for plants and decorations.
Step Six: Add plants.
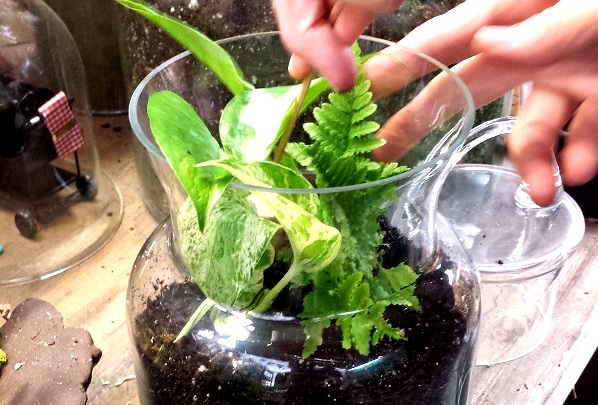
I chose to build my terrarium at Garden Supply because, there, everything you need is at-hand. Staff members helped me pick out attractive, small plants that would be healthy and low-maintenance in my terrarium. I could only fit two in this container.
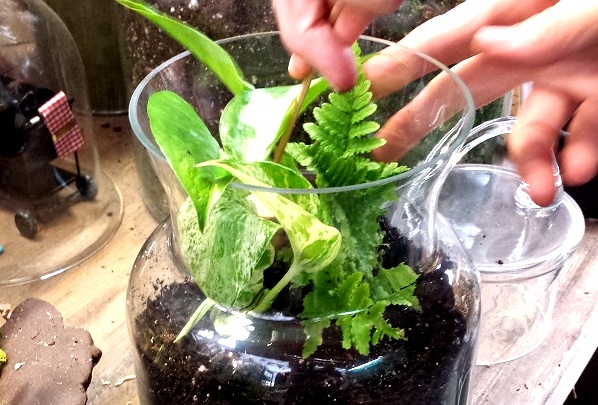
This photo really shows how important it is to plan your soil-level based on the width of your container.
Step Seven: Add decorations.
My terrarium had minimal space for decorations, so I selected a tiny stone turtle and a colorful glass mushroom to place inside my creation. I was very happy with the result–an attractive, yet simple, terrarium.
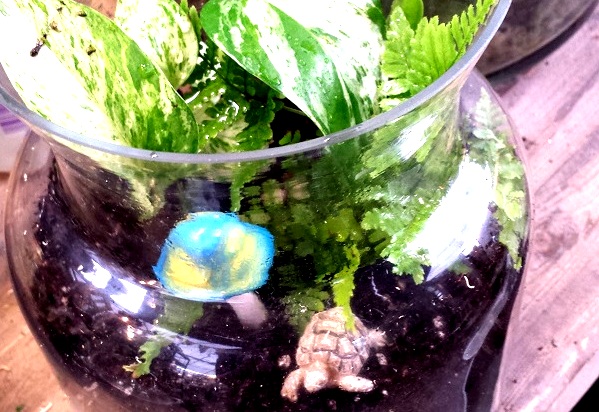
These cute touches, along with a huge variety of other decorations, are all available at Garden Supply.
Of course, there are so many other options for larger terrariums. With a little bit of care and patience, they can be incredibly intricate–almost like outdoor dollhouses. I’ve seen terrariums with flying fairies, “paved” paths, outdoor swings, gourds hanging from strings, and more.
My first terrarium was a “test-trial” and, while I love it, I’m excited to make an even bigger masterpiece at Garden Supply soon.
————————————————————————————————————————————
Story and photos by Jessica Patrick.
————————————————————————————————————————————
The Gardening column on CaryCitizen is sponsored in part by Garden Supply Company on Old Apex Road in Cary.

