Peppermint Bark Makes a Great Holiday Gift
Story originally appeared on FoodCary.
Cary, NC – If you are like me, there are many people on your gift list. You need something small for impromptu gatherings, a client visit or a hostess gift. Homemade peppermint bark is easy to make and looks great in a pretty holiday tin or gift bag.
An easy gift to make Peppermint bark is festive and tasty.
The best part is, everyone loves it, and it looks more difficult to create than it actually is.
Move over Trader Joe’s and Williams Sonoma! We can make ours in a few hours and two batches (yielding about four pounds) cost less than $10 to make.
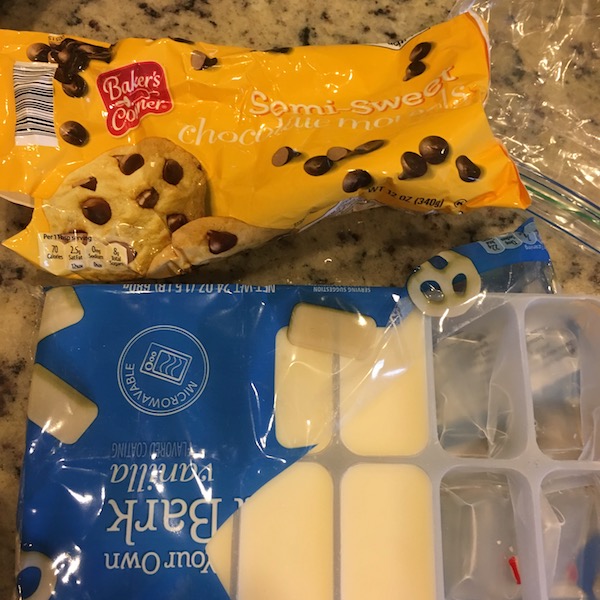
You’ll need two types of chocolate, semi-sweet (or dark) and white “chocolate” or vanilla bark
Tools
You need a rimmed baking sheet and wax paper as well as two glass containers to melt your white and dark chocolate and a mallet to break up the starlight mints.
Ingredients
(for one two-pound batch)
- One bag of wrapped starlight mints (the red and white kind)
- One 12 oz bag of semi-sweet (or dark) chocolate morsels
- One 12 oz bag of white chocolate (or six oz of white melting chocolate)
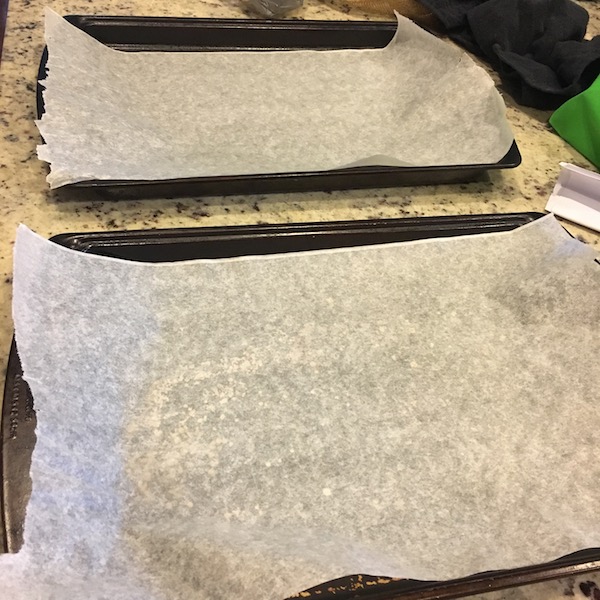
Baking sheets prepped with waxed paper
Instructions
- Line your baking sheet with a layer of waxed paper
- Prep your mint topping
- Unwrap about 16 mints
- Place between two sheets of waxed paper on your counter and start to pound with the mallet. Get the pieces fairly small, but big enough to still see the white and red stripes on some pieces. Dust is ok, but you are going for a pretty red and white look for the candy topping.
Melt the chocolate on medium setting in 30-minute intervals in your microwave
Melt the Chocolate
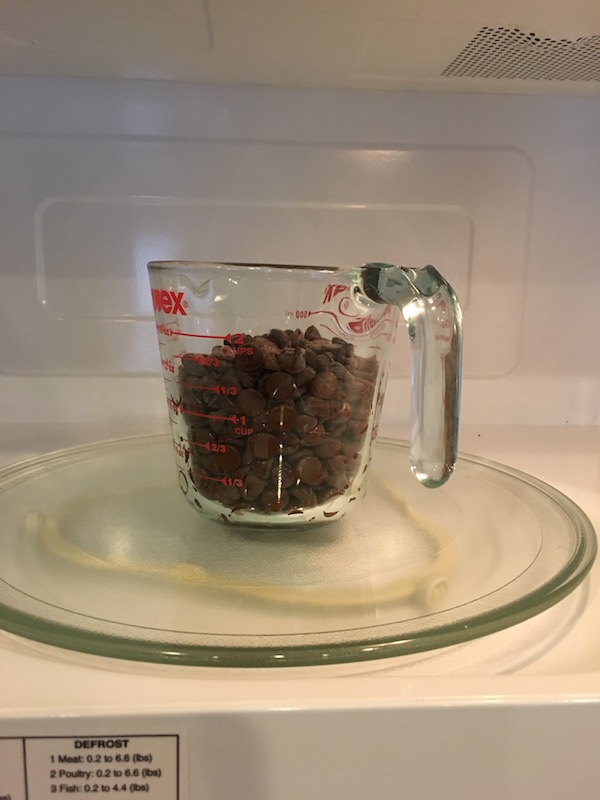
Place a bag of dark chocolate in a glass container.
Repeatedly place in your microwave on 50 percent power for 30 second intervals, stirring in between until it has melted and smooth. Do this slowly so as not to burn the chocolate.
When it is a nice consistency, pour it onto your prepared baking sheet and with a spatula, smooth out the surface to be as thin and even as possible. The chocolate should spread to cover most of the baking sheet.
Place this in your refrigerator to set up and cool.
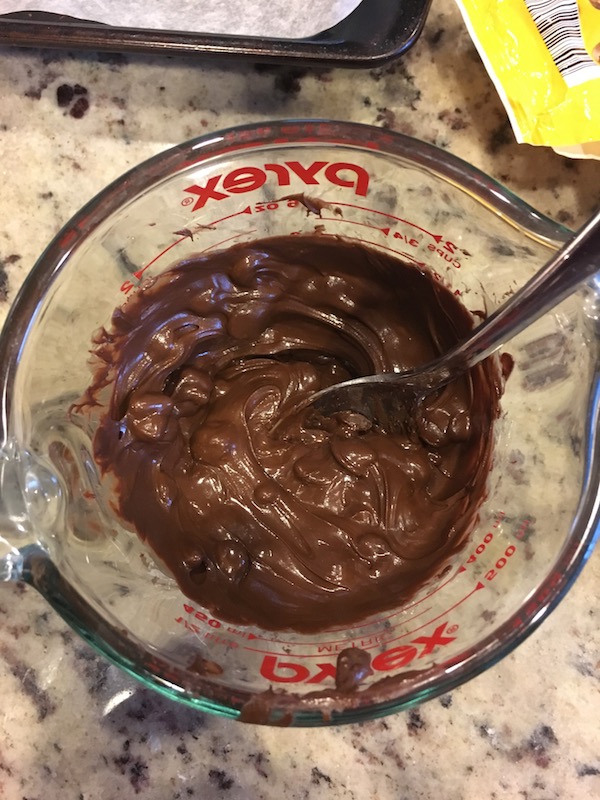
Melting the chocolate and stirring in between is very important
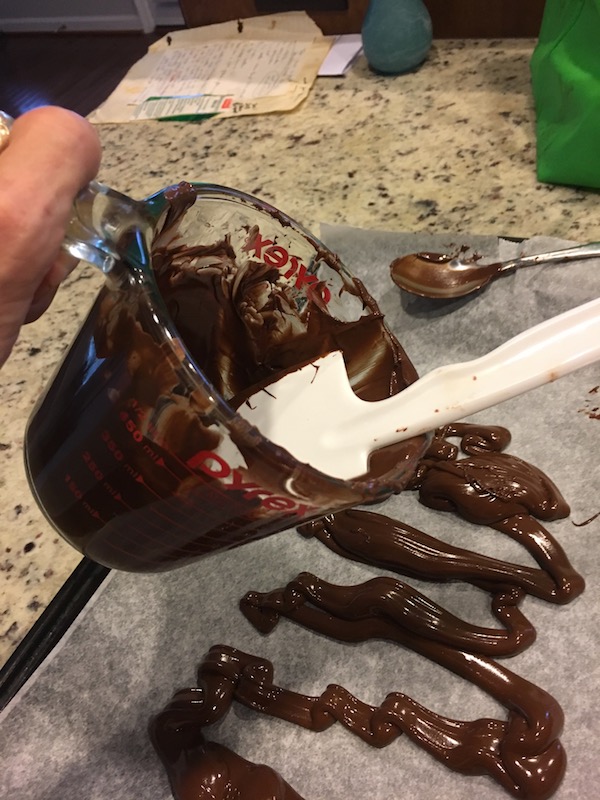
Pouring out the melted chocolate
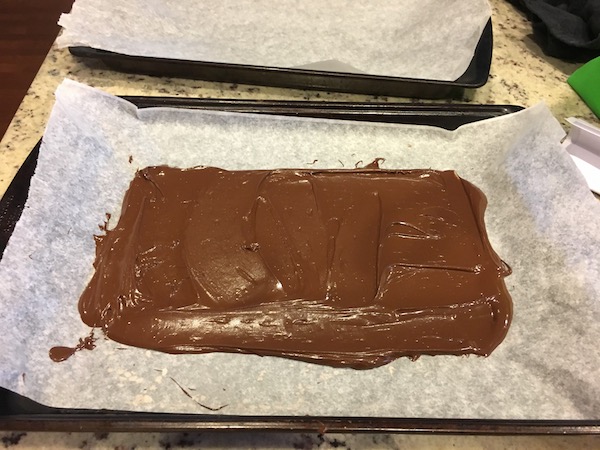
Evened out melted chocolate base later
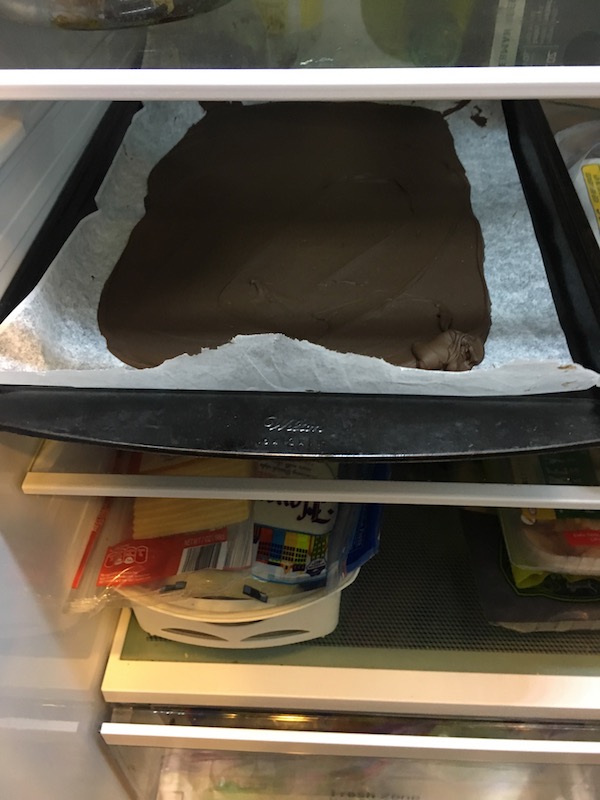
Pop it in the fridge to set
Second Layer
When the first layer has cooled, repeat this same process in another clean glass container.
Take the chocolate layer out of the refrigerator and carefully pour the white chocolate over the dark quickly and start to spread immediately over the top, in a nice thin and even layer. This must be done quickly, lest the dark layer start to heat, melt and combine with the white.
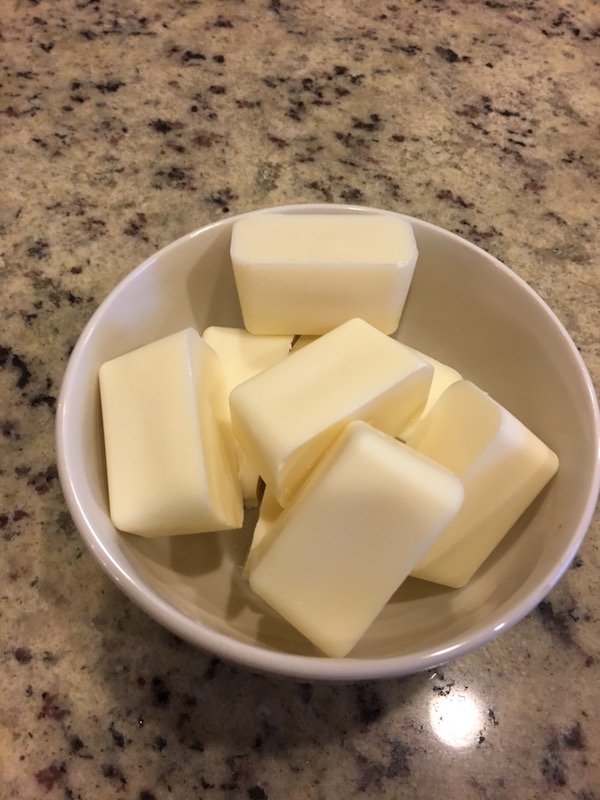
A typical amount of chocolate to melt if it is bought in cubes as “candy melt”
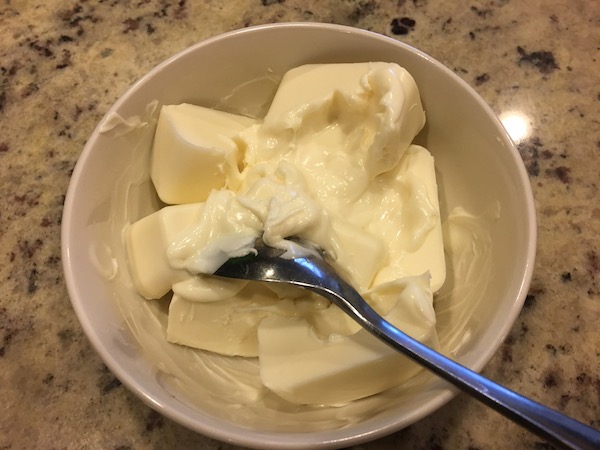
Melting the white chocolate
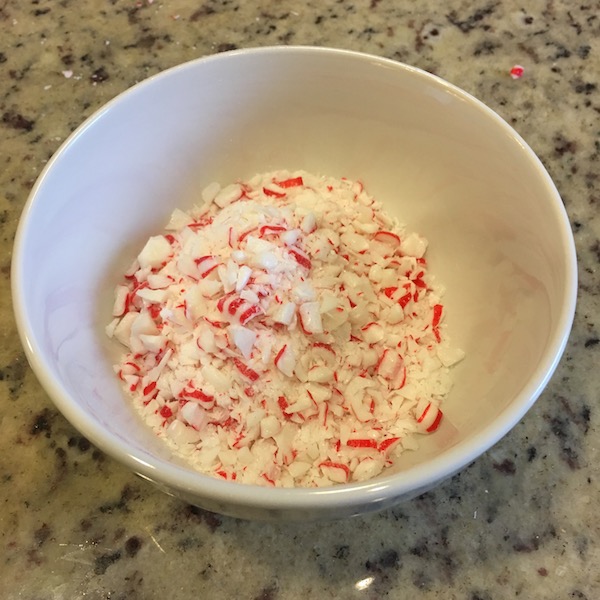
Crushed starlight mints ready for topping
Topping
Sprinkle with the crushed mints pressing if necessary to adhere.
Place everything back in the refrigerator to set up.

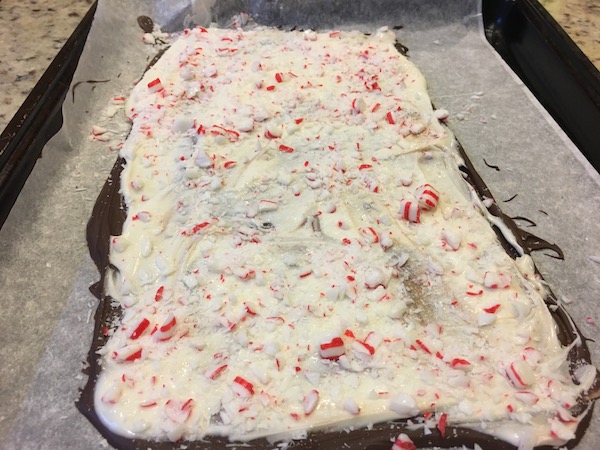
The peppermint bark before it is broken into pieces
It’s a Wrap
Once the candy has set (a half hour is about all you need), remove from the fridge.
Place a second piece of wax paper over the top and begin to break up the candy. You can use a knife if you prefer regularly-sized pieces, but I usually have mine break in chunks.
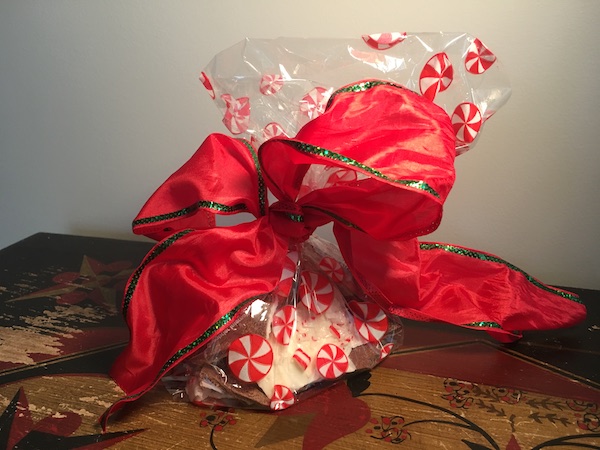
You can wrap these in cute plastic gift bags or find fancy tins with lids or gift boxes to use. I generally take a run over to our local Dollar General, which stocks up on these supplies during the holidays. For a few bucks, you can have plenty on hand for all your gift-giving and the packaging will really make your gift stand out.
Happy Holidays to you and yours.
Have a favorite Holiday recipe you would like to share?
Send them to Michael.Papich@carycitizen.com We might publish it!
Story and photos by Lindsey Chester.

